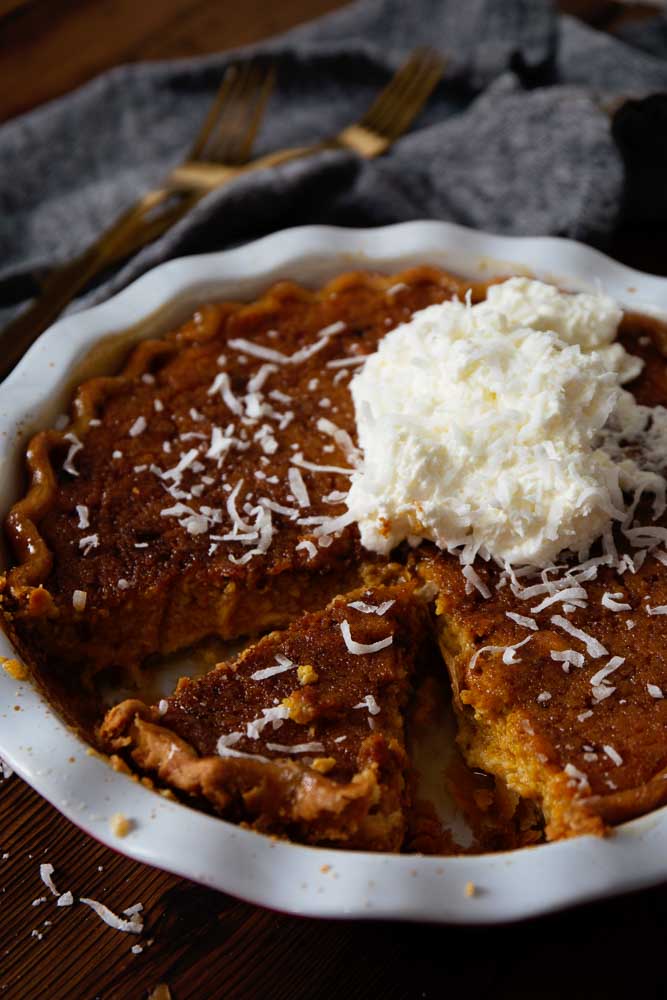
Maple Butternut Squash Pie
$4.40 per Recipe/ $0.55 per Serving
This post contains links to affiliate websites, such as Amazon, and we receive an affiliate commission for any purchases made by you using these links. We appreciate your support!
Butternut Squash Pie’s smooth texture, sweet taste, and warm fragrance makes for the perfect use of your leftover pureed butternut squash from Thanksgiving or any other holiday. Transform this leftover side dish into a decadent dessert once the Pumpkin Pie has already come and gone. You’ll look forward to this every year.
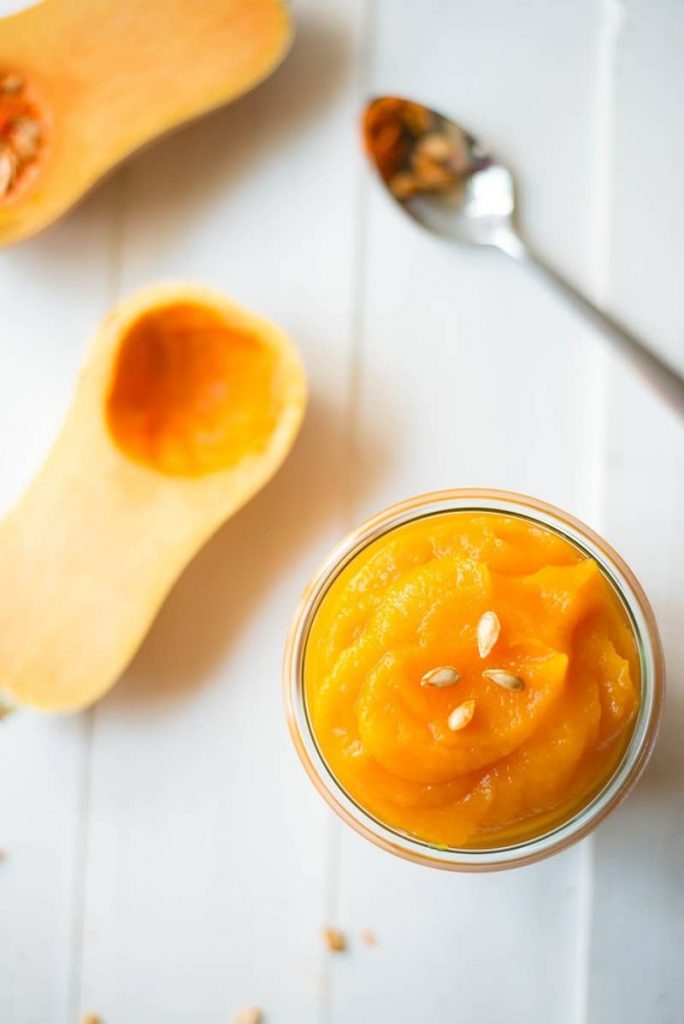
Step 1 Recipe: Butternut Squash Puree
You’ll need 2 cups of puree from your holiday side dish. However, if you don’t have any or don’t have enough, preparing your own from scratch or purchasing a 15 ounce can of canned squash from your local grocer will work just fine. And don’t worry about any seasonings already added to your puree from your side dish, everything should still balance out nicely.
Which varieties of squash can be used for squash pie?
While this recipe is for using the leftovers of butternut squash puree you can also use the following:
- Acorn
- Hubbard
- Delicata
- Kabocha
- Pumpkin (yes pumpkin is technically a squash!)
- for a full list of squashes and their preferred uses click here
Ingredients Needed

Exact measurements can be found in the printable recipe card below.
Recipe Variations
- Milk and heavy cream can be used instead a 12 ounce can of evaporated milk.
- Sugar or brown sugar can be used in place of maple syrup if needed.
- If you don’t have ginger, you can use zest from one whole orange.
Instructions
This is an overview of the instructions. For complete directions, scroll down to the bottom.
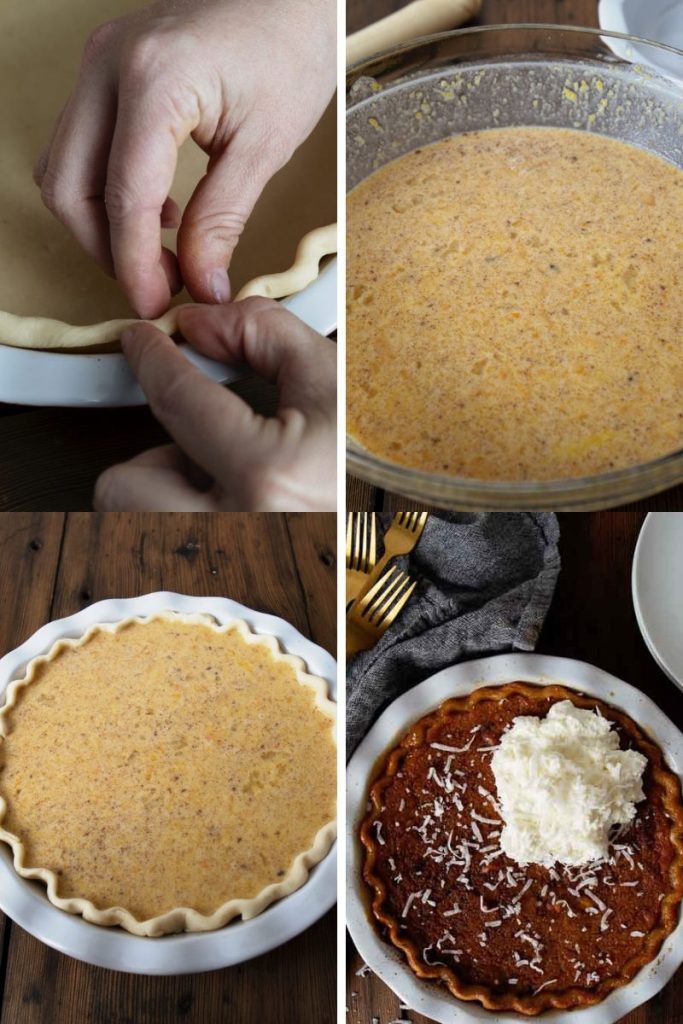
- Use a thawed store-bought pie crust and unroll it to fit your pie plate. Crimp the edges as desired.
- Mix the filling ingredients into a large mixing bowl with a whisk.
- Carefully pour the filling into the unbaked pie crust.
- Bake for 50 minutes at 400F.
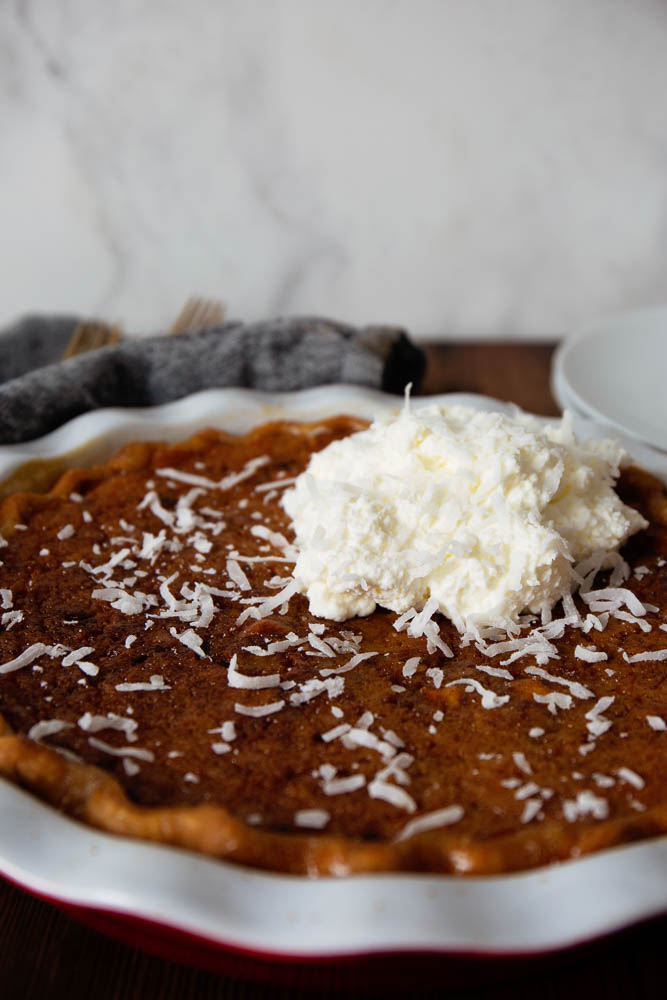
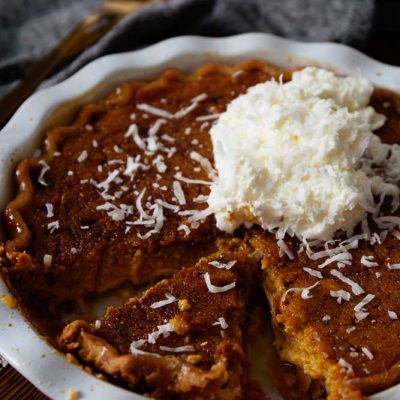
- Top with whipped cream, nuts, coconut, or shaved chocolate as desired.
Tips for the perfect pie
With this Butternut Squash Pie recipe, you can expect a bit of bubbling and wiggling. You’ll want to pay attention to the texture across the top of the pie. When the texture of the middle looks the same as the edges, and the inner temperature is 175F you can remove it from the oven. It will continue to bake and firm upon sitting. If the top firms up first, cover with tinfoil and continue to bake so the inside can firm as well.
How to store and love your leftovers
- Refrigerate: Leftover pie should be cooled completely, then covered with plastic wrap. It can be refrigerated for up to a week.
- Freeze: To freeze, wrap in plastic wrap followed by tinfoil to prevent freezer burn. It will last 1 month in the freezer.
- Thawing: Remove from the freezer and thaw in a refrigerator the night before or at least 12 hours before serving.
- Reheating: If any discoloration of the pie occurs during defrosting, simply cover it with one of your favorite toppings. To serve warm, microwave on high for 30 seconds or place into the oven for 10-15 minutes from thawed, at 350F.
Freeze your pie in a tin pie plate so as not to hold up your favorite dishes for a month.
Tips for Crimping Crust
- Lay the pie crust evenly into the pie plate so that 3/4 of an inch extra dough hangs over the pie plate.
- Roll the excess dough underneath itself to form a thick rim. This will give increased stability to the pie and all the goodness it’s holding in, plus extra dough to work with in the next step.
- Use two fingers on each hand to form a U. With one on the outside and one on the inside, push firmly against one another. Keep the thumbs in the previous crimp you’ve made as you move along the pie edge.
- Once the edge is crimped, allow the dough to firm up in the refrigerator for close to an hour before adding your filling.
FAQ’s
Remove your pie crust from the refrigerator or freezer and allow to come to room temperature before unrolling. Trying to roll out the dough too soon can cause cracking and tears. If it does tear, use a mixture of beaten egg and water (1 egg, 1 Tablespoon of water) to wet the room temperature pie crust, press together, and smooth with your fingers.
If preparing the butternut squash from scratch, be sure it is cooled before combining with the other ingredients. You don’t want to cook the eggs when combining.
To know if the pie is set, the middle should be slightly firm to touch and should not wiggle when the pie plate has been gently shaken. You can also insert a knife into the middle of the pie. If it comes out clean, it is set. However, this could cause cracking in the pie filling as it cools. You can also use an instant-read thermometer in the middle. The filling should be 175F. The filling will continue to set as it cools.
Serve with
- Roasted Chicken
- Turkey
- Mashed Potatoes
- Green Bean Casserole
- Leftover Thanksgiving Sandwich
Hey, if you want to catch all my videos, be sure to subscribe to my YouTube Channel. You’ll be notified each time I share a new video!
If you love this recipe, please leave a ⭐⭐⭐⭐⭐ rating!
Butternut Squash Pie
Equipment
- large bowl
- whisk
- pie plate
Ingredients
Crust
- 1 9" pie crust store-bought or your favorite homemade recipe
Filling
- 2 cups butternut squash puree (2.24) the cooked leftovers
- 3/4 cup sugar (0.49)
- 1/4 cup maple syrup (0.18)
- 3 eggs (0.39)
- 1/2 cup milk (0.12)
- 1/2 cup heavy cream (0.69)
- 1 Tablespoon butter, melted (0.12) unsalted
- 1 teaspoon cinnamon (0.08)
- 1/4 teaspoon ginger (0.06)
- 1/8 teaspoon nutmeg (0.03)
- zest from 1 orange (0.88) optional
Instructions
- Pre-heat oven to 400F.
- Line a pie dish with raw pie crust.
- Mix all ingredients into a large bowl.
- Pour into unbaked pie shell.
- Bake for 10 minutes at 400F, then lower temperature to 350F for 50 minutes or until set.