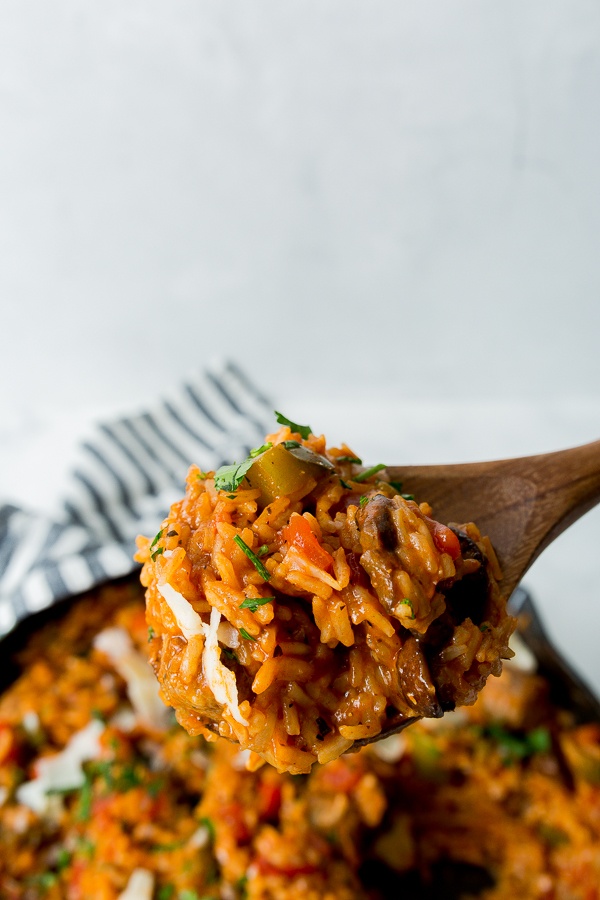
Baklava Ice Cream
This post contains links to affiliate websites, such as Amazon, and we receive an affiliate commission for any purchases made by you using these links. We appreciate your support!
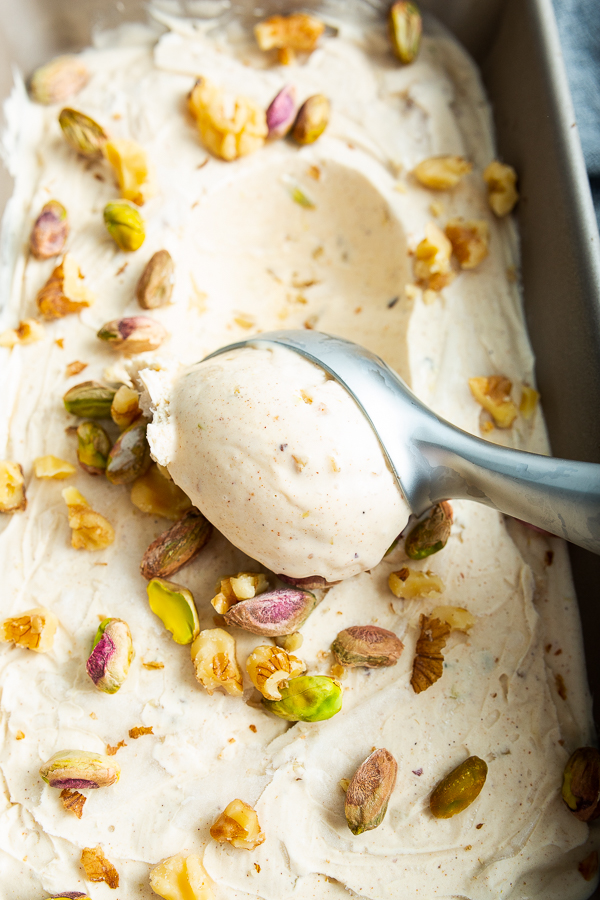
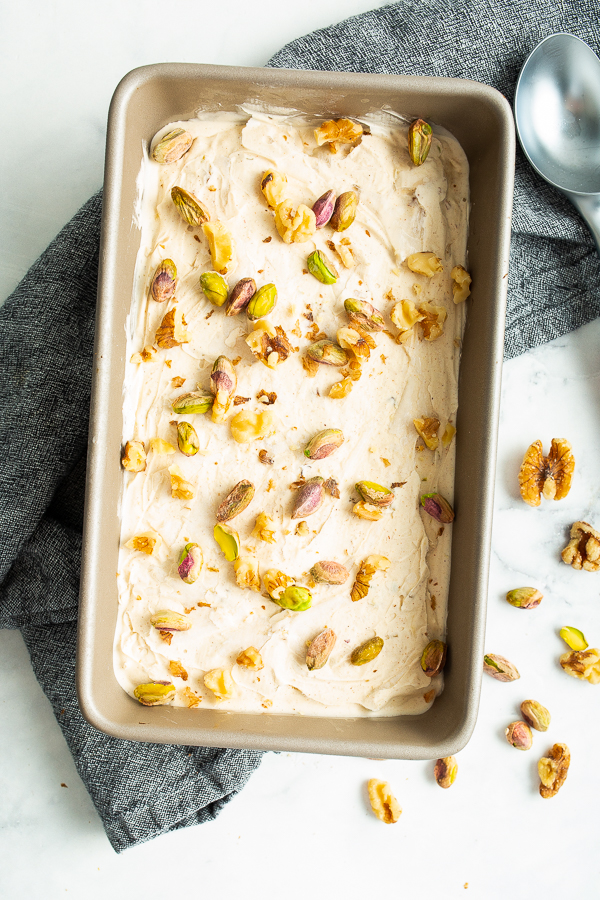
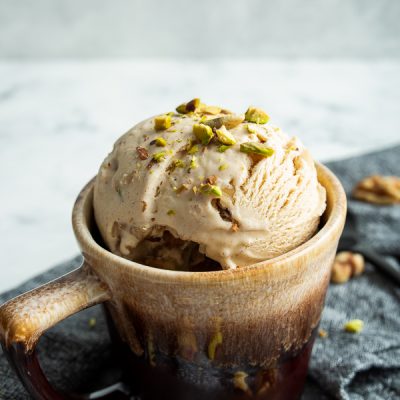
Homemade Baklava Ice Cream gives you all the rich, yet delicate flavors of honey drizzled baklava without the many layers of phyllo-dough to mess with. Use up leftover nuts such as walnuts and pistachios from your pantry to add a crunch to this smooth family favorite.
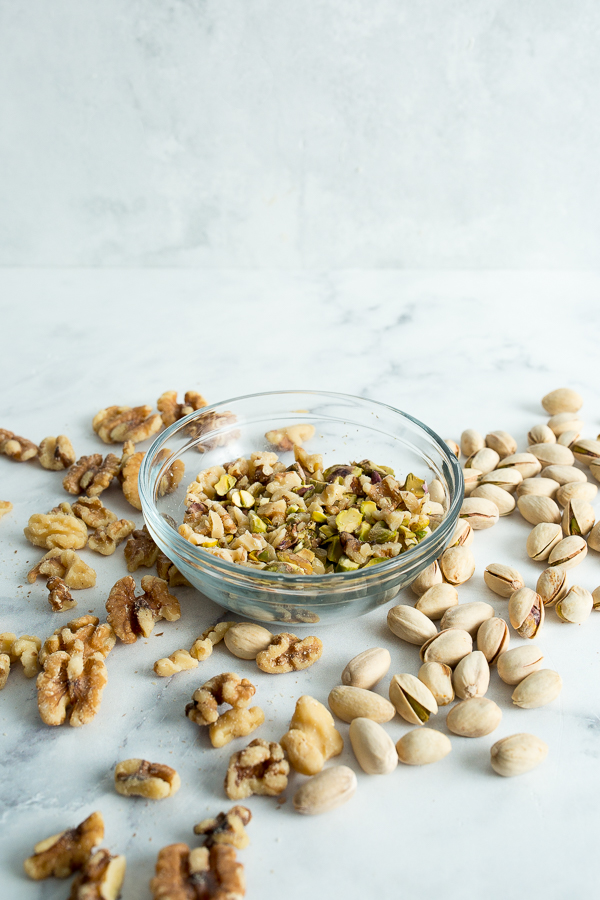
Today’s Pantry Essentials: Walnuts and Pistachios
I know I can’t be the only one that has half-empty bags of nuts that sit on the pantry shelves for months at a time, right? I typically need them for a recipe and then forget I have them. So there they sit, alone with each other, awaiting the day to be used again. Well, today is the day!
Benefits of Walnuts and Pistachios
You certainly wouldn’t want to throw out perfectly good nuts, stale or not. Walnuts and pistachios are filled with fiber, heart-healthy fats, and are a great source of protein. While you could certainly snack on these nuts alone, in a trail mix, or granola, my sweet tooth assured me that pistachios meant honey and baklava. But Baklava can be a pain to make with the many layers of phyllo dough, so ice cream it was!

What is traditional baklava?
Baklava is a Greek dessert recipe that is drenched in sweet honey and crunchy in texture with the use of many layers of phyllo dough and walnuts. Many make baklava as a labor of love and deliver during the holiday season as a gift. Traditional baklava can last about a week at room temperature but can also be stored in the fridge or frozen for later enjoyment. Of course, this baklava ice cream will need to be frozen in an airtight container for best taste. Sealed properly it can last a month easy. However, I doubt it’ll be around long enough to test that theory.
Ingredients for Baklava Ice Cream
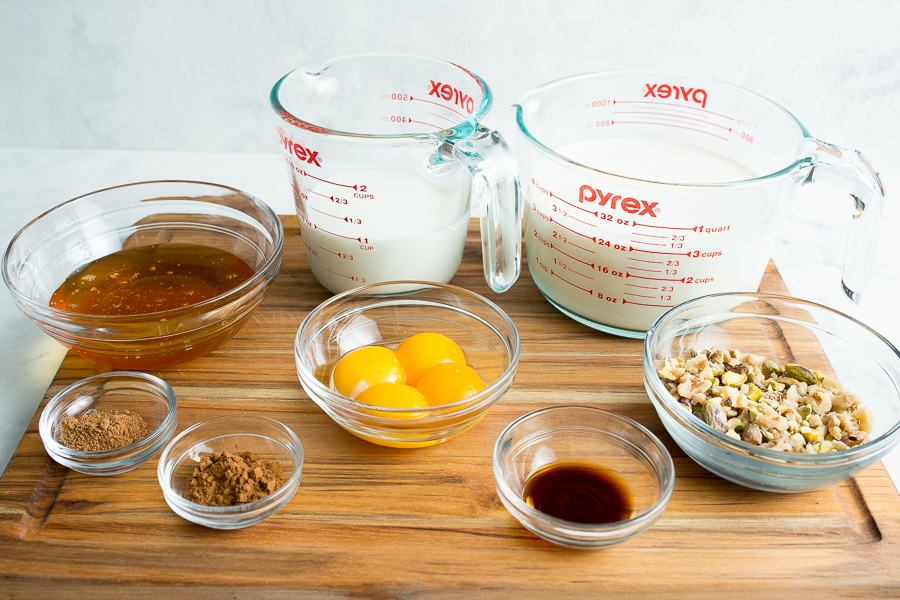
Exact measurements can be found in the printable recipe card below.
Recipe Variations
You can go ahead and get creative with this ice cream. If you don’t have half and half of walnuts and pistachios, go ahead and use a full amount of what you do have. If you have neither of those on hand you can use hazelnuts or almonds for a similar taste and texture. Any mixture of those nuts will be delicious!
Ice Cream Machine Needed
While I wish I could say you can shake this ice cream in a bag with rock salt, I haven’t tested it. And while ice cream machines can be quite the investment, once you’ve had homemade ice cream, you’ll be using it every weekend. You can even sell homemade ice cream at farmer’s markets.
Instructions
This is an overview of the instructions. For complete directions, scroll down to the bottom.
- Simmer the milk, cream and honey in a large saucepan until thickened. Add vanilla bean seeds if using.
- In a large bowl whisk the egg yolks enough to break.
- Add 1 cup of the heated milk mixture to the eggs slowly while stirring rapidly to temper.
- Add the egg mixture to the stovetop with the remaining milk mixture and spices.
- Whisk until thickened. Custard will be about 155-160F and coat the back of a spoon.
- Strain through a fine mesh strainer and remove any lingering foam with a clean spoon from the top of the custard.
- Stir in the vanilla extract.
- Cover the custard with plastic film and refrigerate for 6 hours to overnight, or cool in an ice bath.
- Churn according to ice cream maker instructions, adding the chopped nuts at the very end.
- Pour into an ice cream tub or bread pan. Top with more nuts. Cover to be air tight or with plastic film. Allow to harden in the freezer for a couple of hours to reach hard serve consistency.

How to store and love your leftovers
- Frozen: Stored in an air-tight container, homemade ice cream will last 2-3 weeks.
Use leftovers from this recipe between oatmeal cookies for a delicious take on ice cream sandwiches.
FAQ’s
Depending on the amount of mixture you pour into your machine and the manufacturer’s instructions, it should take approximately 30-45 minutes. You’ll want to make sure your custard is fully chilled before adding to the machine. Use an ice bath to speed up the cooling process of your custard, but do not add warm or hot custard to an ice cream machine.
Ice cream can form ice crystals due to excess water. Be sure that you’re cooking down the custard long enough to get rid of excess water and make it nice and thick. Not as thick as set pudding but pretty close.
Ice creams you buy at the store have added sugar and air. Both of which produce a lighter, easier to scoop ice cream. Let your fresh ice cream from the freezer sit out at room temperature for a few minutes and warm your scoop under hot tap water for easy portioning.
Hey, if you want to catch all my videos, be sure to subscribe to my YouTube Channel. You’ll be notified each time I share a new video!
If you love this recipe, please leave a ⭐⭐⭐⭐⭐ rating!
Baklava Ice Cream
Equipment
- Ice Cream Machine Kitchen Aid makes a stand mixer attachment
- Large Sauce Pan
- whisk
- mixing bowl
- Spoon
- fine mesh strainer
- plastic wrap
- bread pan
Ingredients
- 3 cups heavy cream (0.25)
- 1 cup whole milk (0.24)
- 1/2 cup honey (1.32)
- 4 egg yolks (0.52)
- 1 teaspoon cinnamon (0.08)
- 1/2 teaspoon nutmeg (0.13)
- 1 teaspoon vanilla extract (0.03)
- 1/2 cup chopped pistachios (3.58)
- 1/2 cup chopped walnuts (1.33)
Instructions
- Combine heavy cream, milk and honey in a large saucepan over medium-low heat, on the stovetop. Stirring frequently to prevent the bottom from burning, sticking, or curdling. Heat until warmed through.
- In a medium to small heat-proof bowl whisk the four egg yolks. Slowly whisk 1 cup of the heated cream mixture into the egg yolks. Then slowly pour the egg yolk cream mixture back into the saucepan with the remaining cream mixture.
- Add cinnamon and nutmeg to the custard mixture. Whisk continuously until thickened enough to coat the back of a spoon. Custard should linger for a bit before sliding off the spoon.
- Pour the custard through a fine-mesh strainer. Shake, but do not push through. Stir in the vanilla extract. Cover the custard with plastic wrap and refrigerate until cold, about 6 hours.
- Using cling-wrap, cover the custard directly on top to prevent a skin from forming. Keep covered and refrigerated until cold, approximately 6 hours.*
- If using a Kitchen Aid Ice Cream Mixer, turn the mixer on before pouring in the cooled custard. Pour in a slow steady stream. Mix until soft-serve consistency and add pistachios and walnuts. Transfer to an airtight container and freeze for an additional 2 hours until more of a hard serve consistency.

